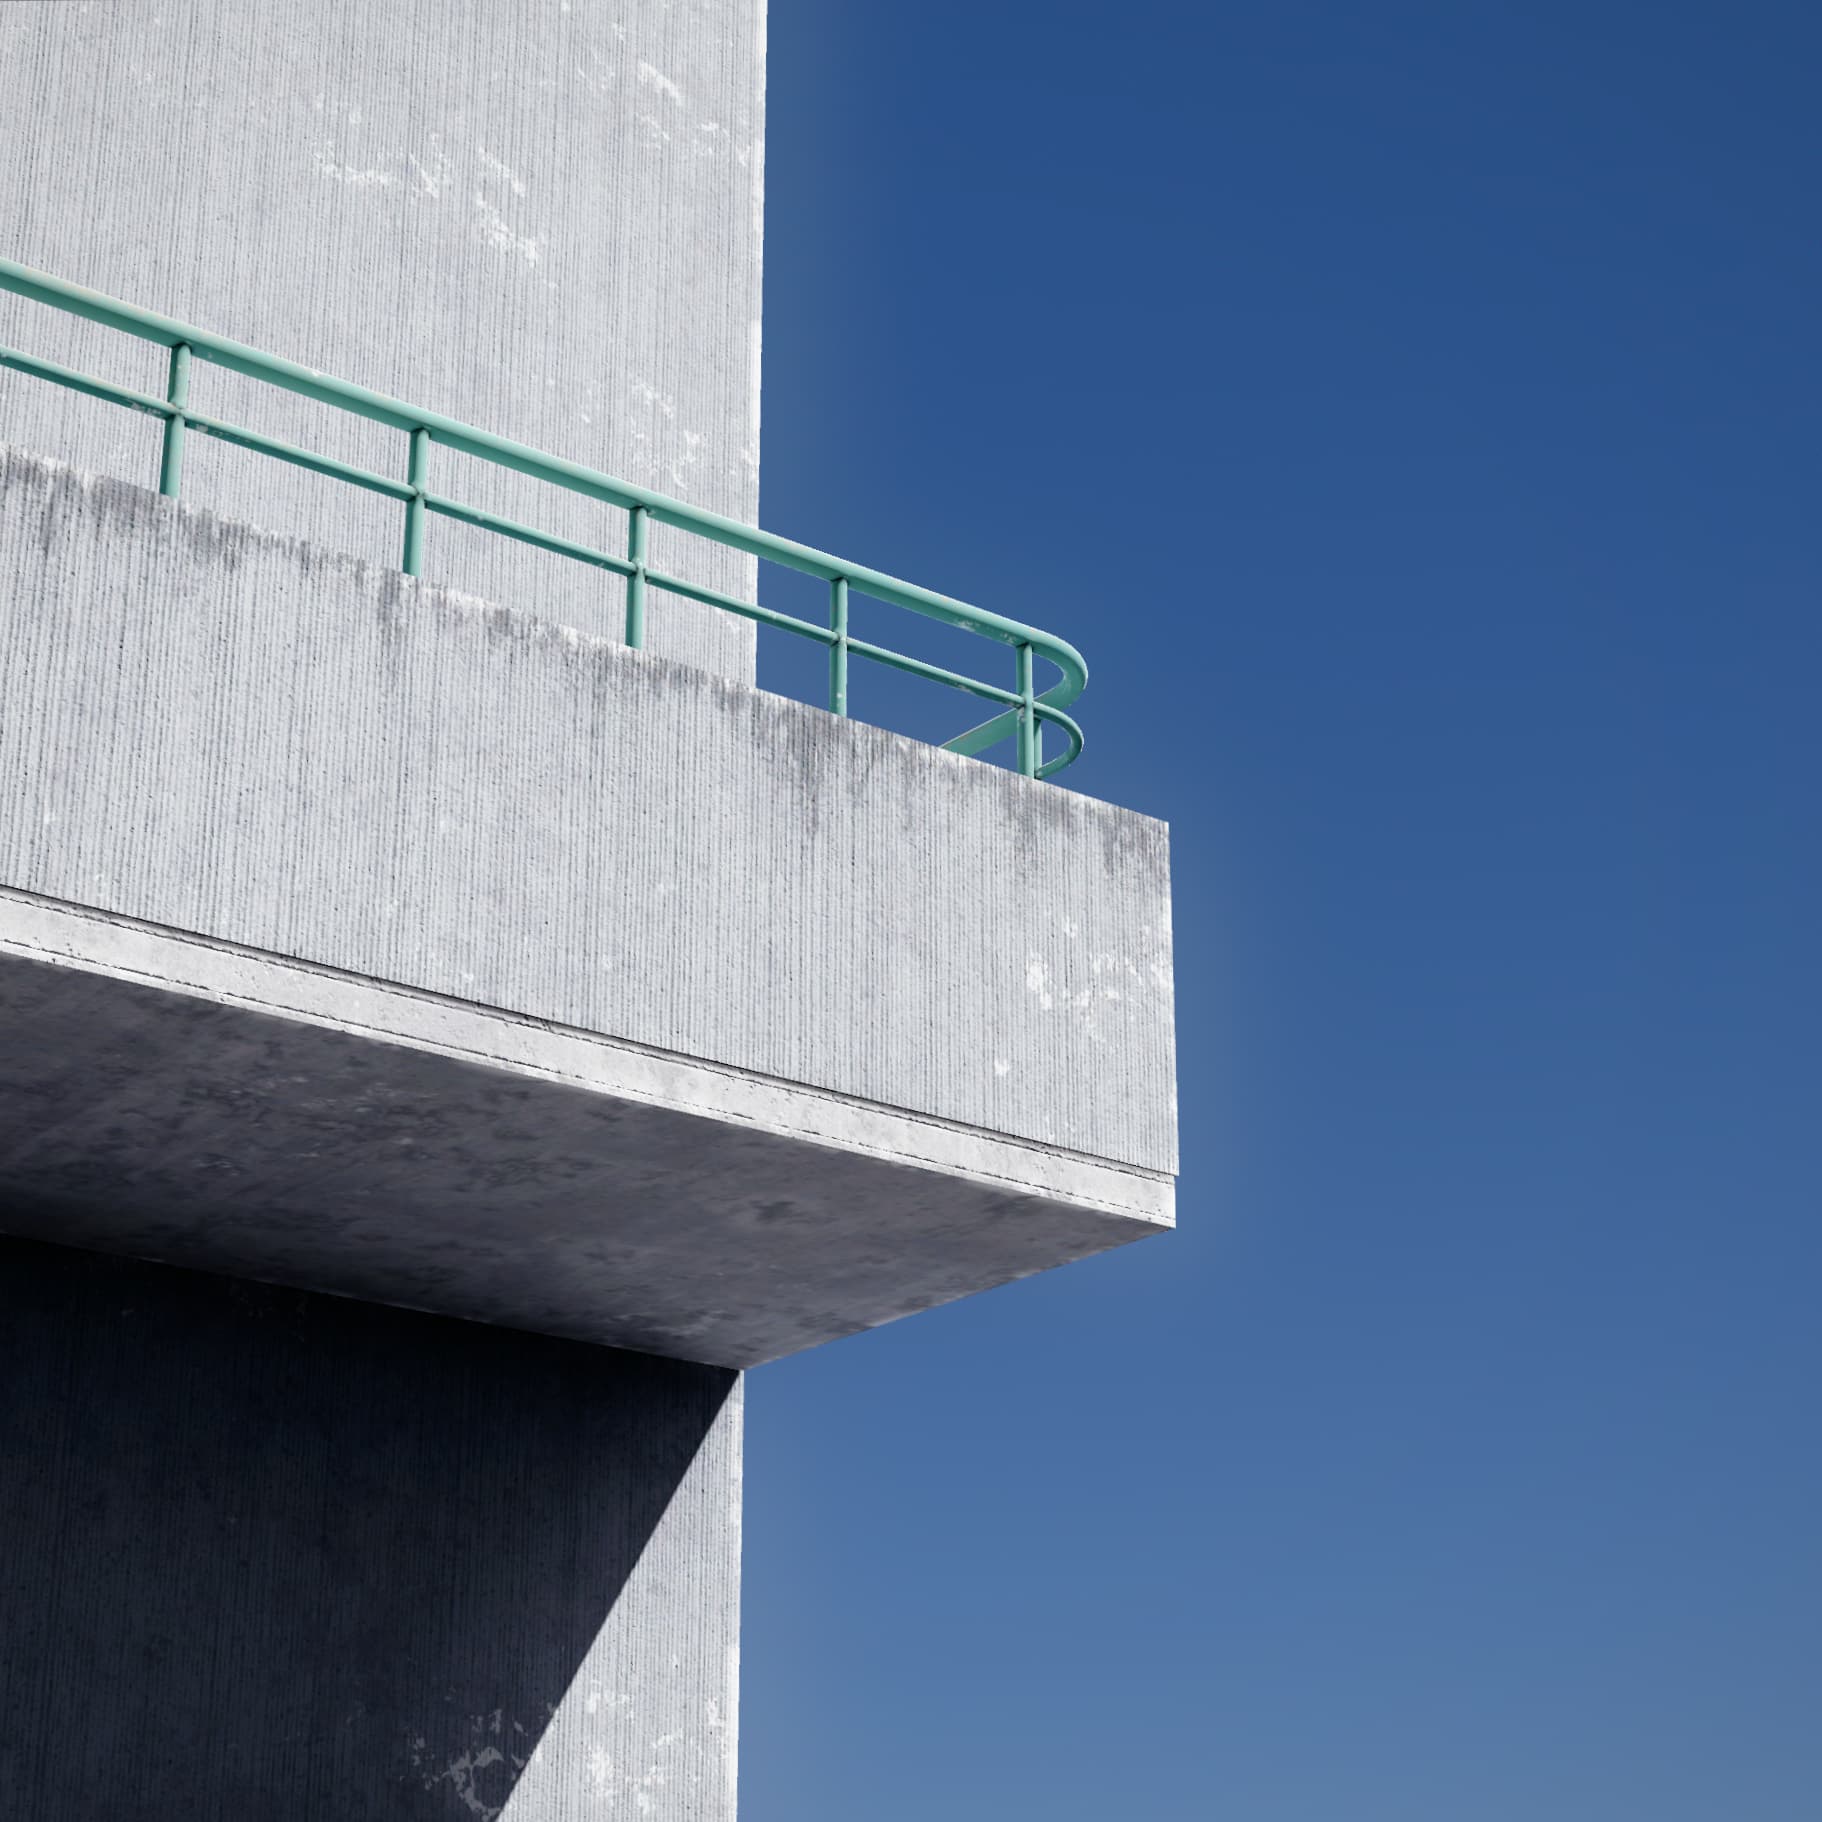
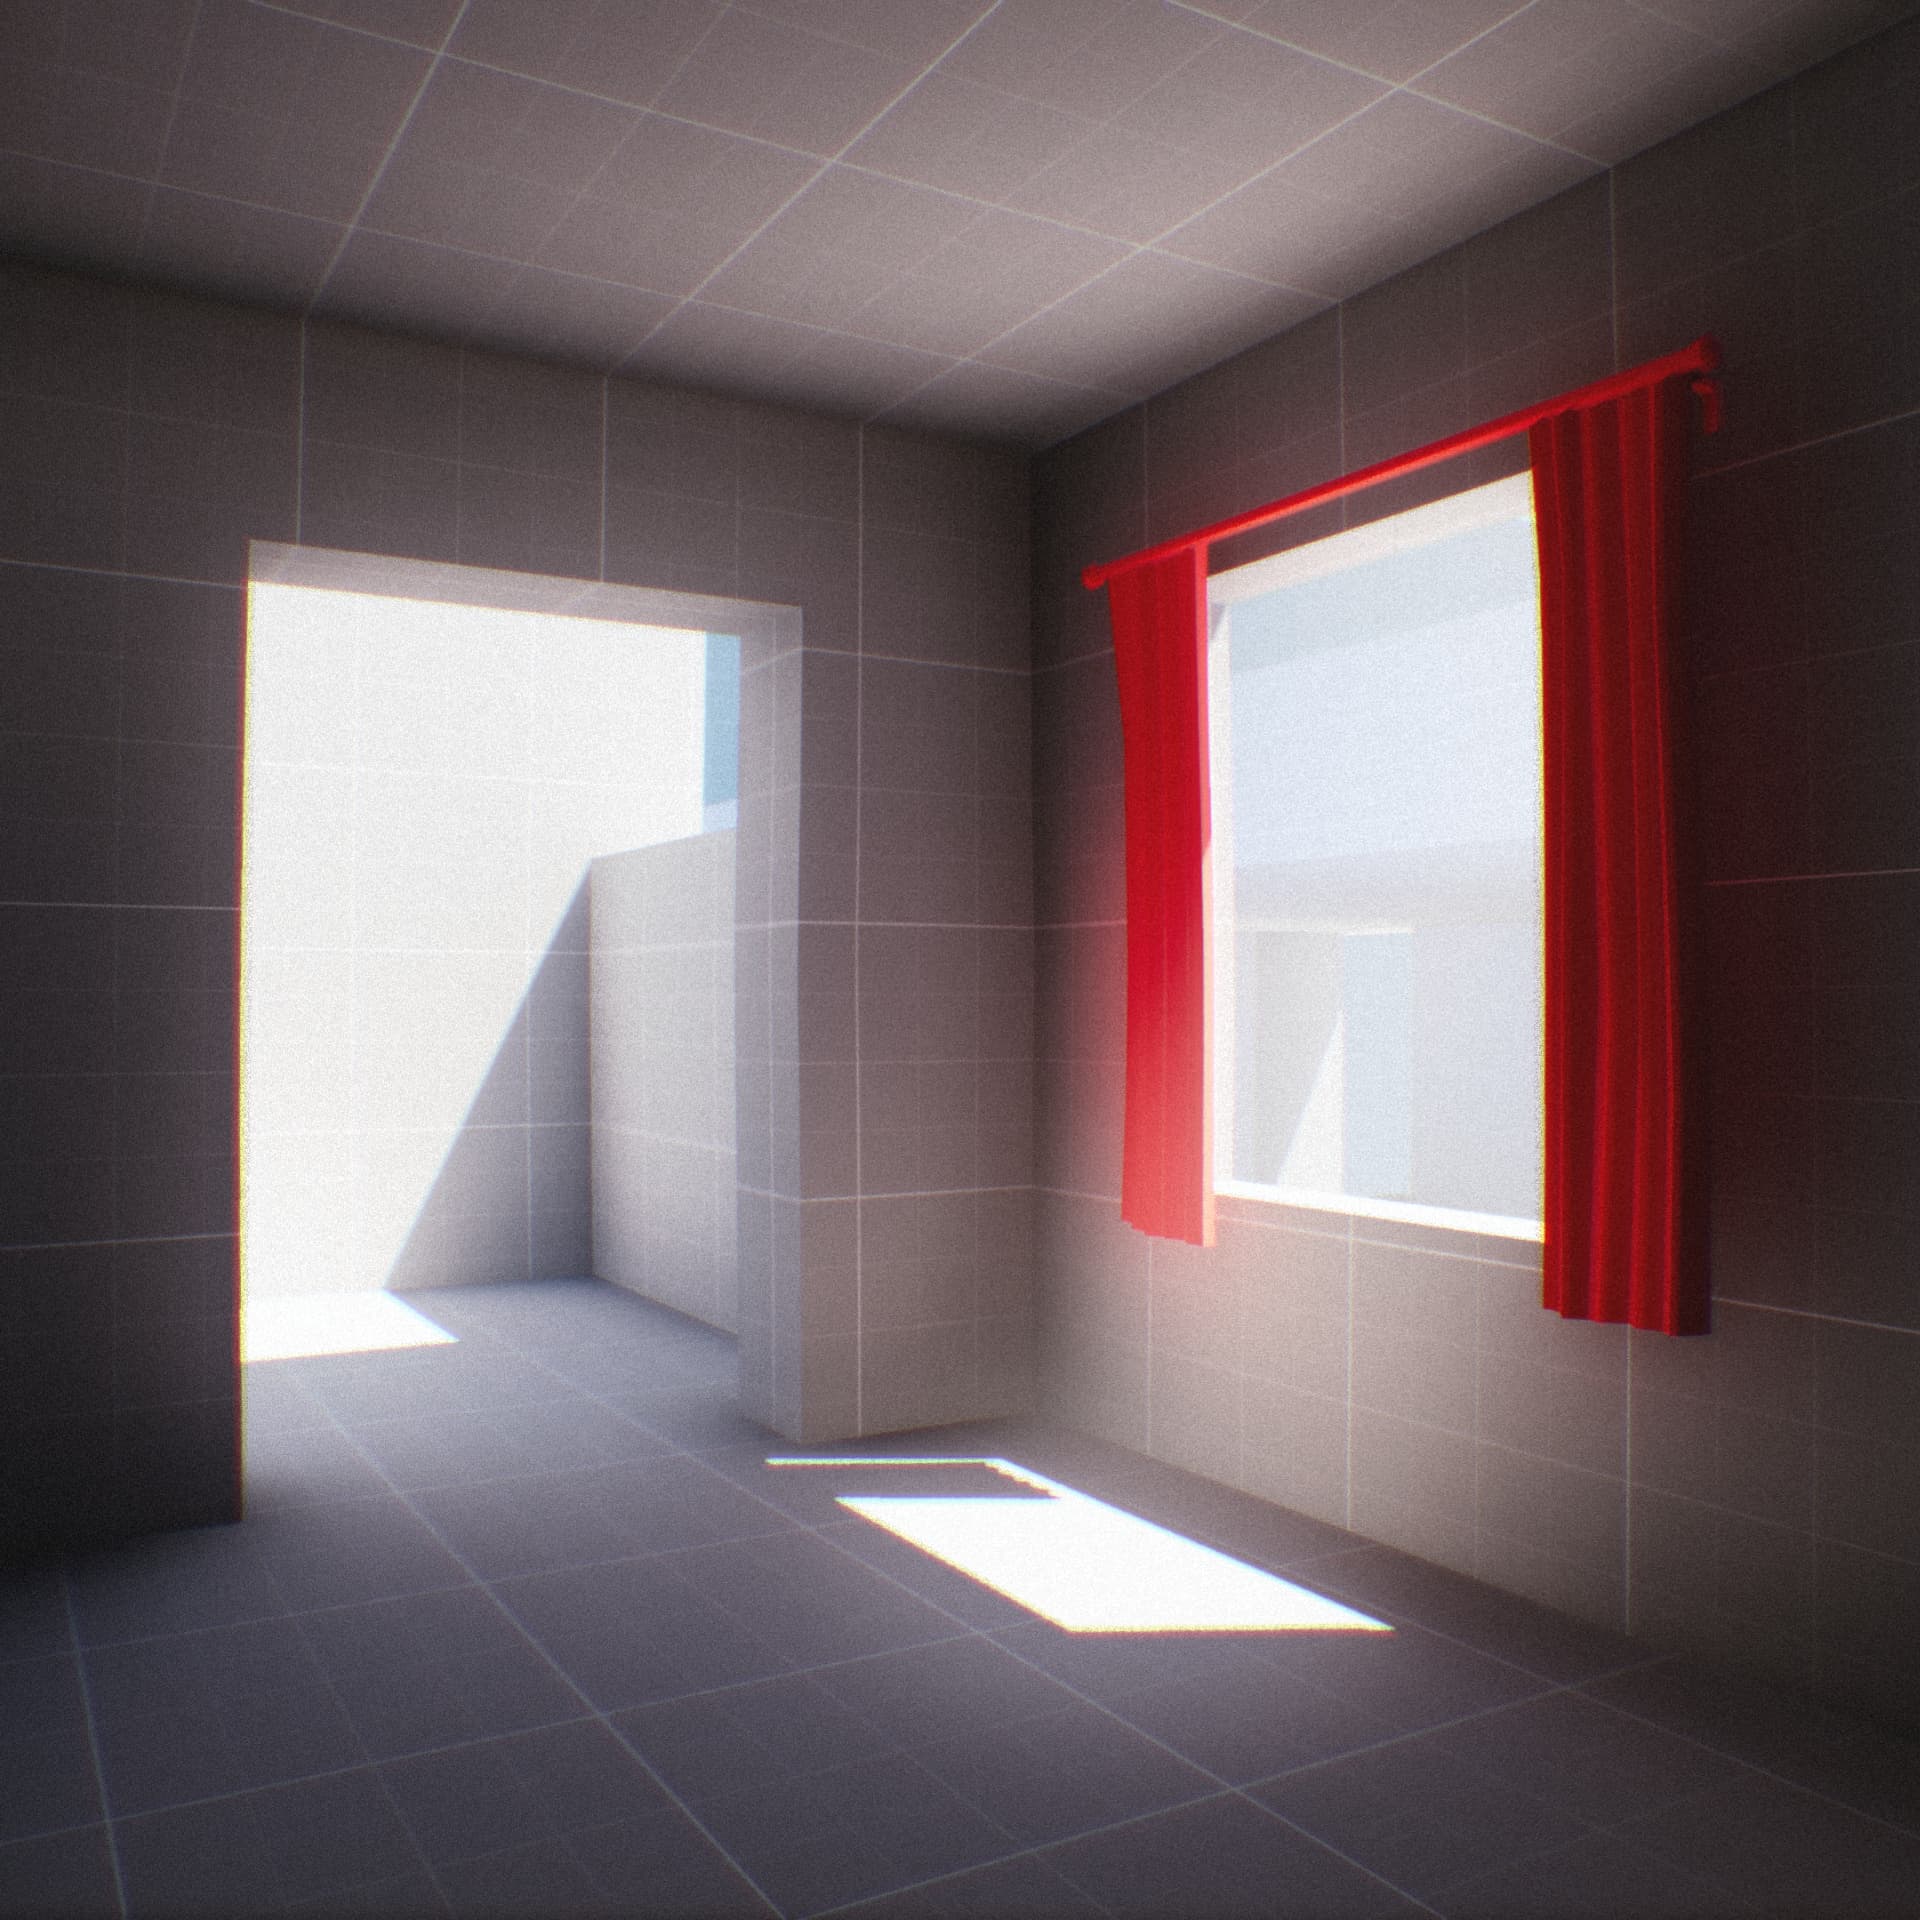
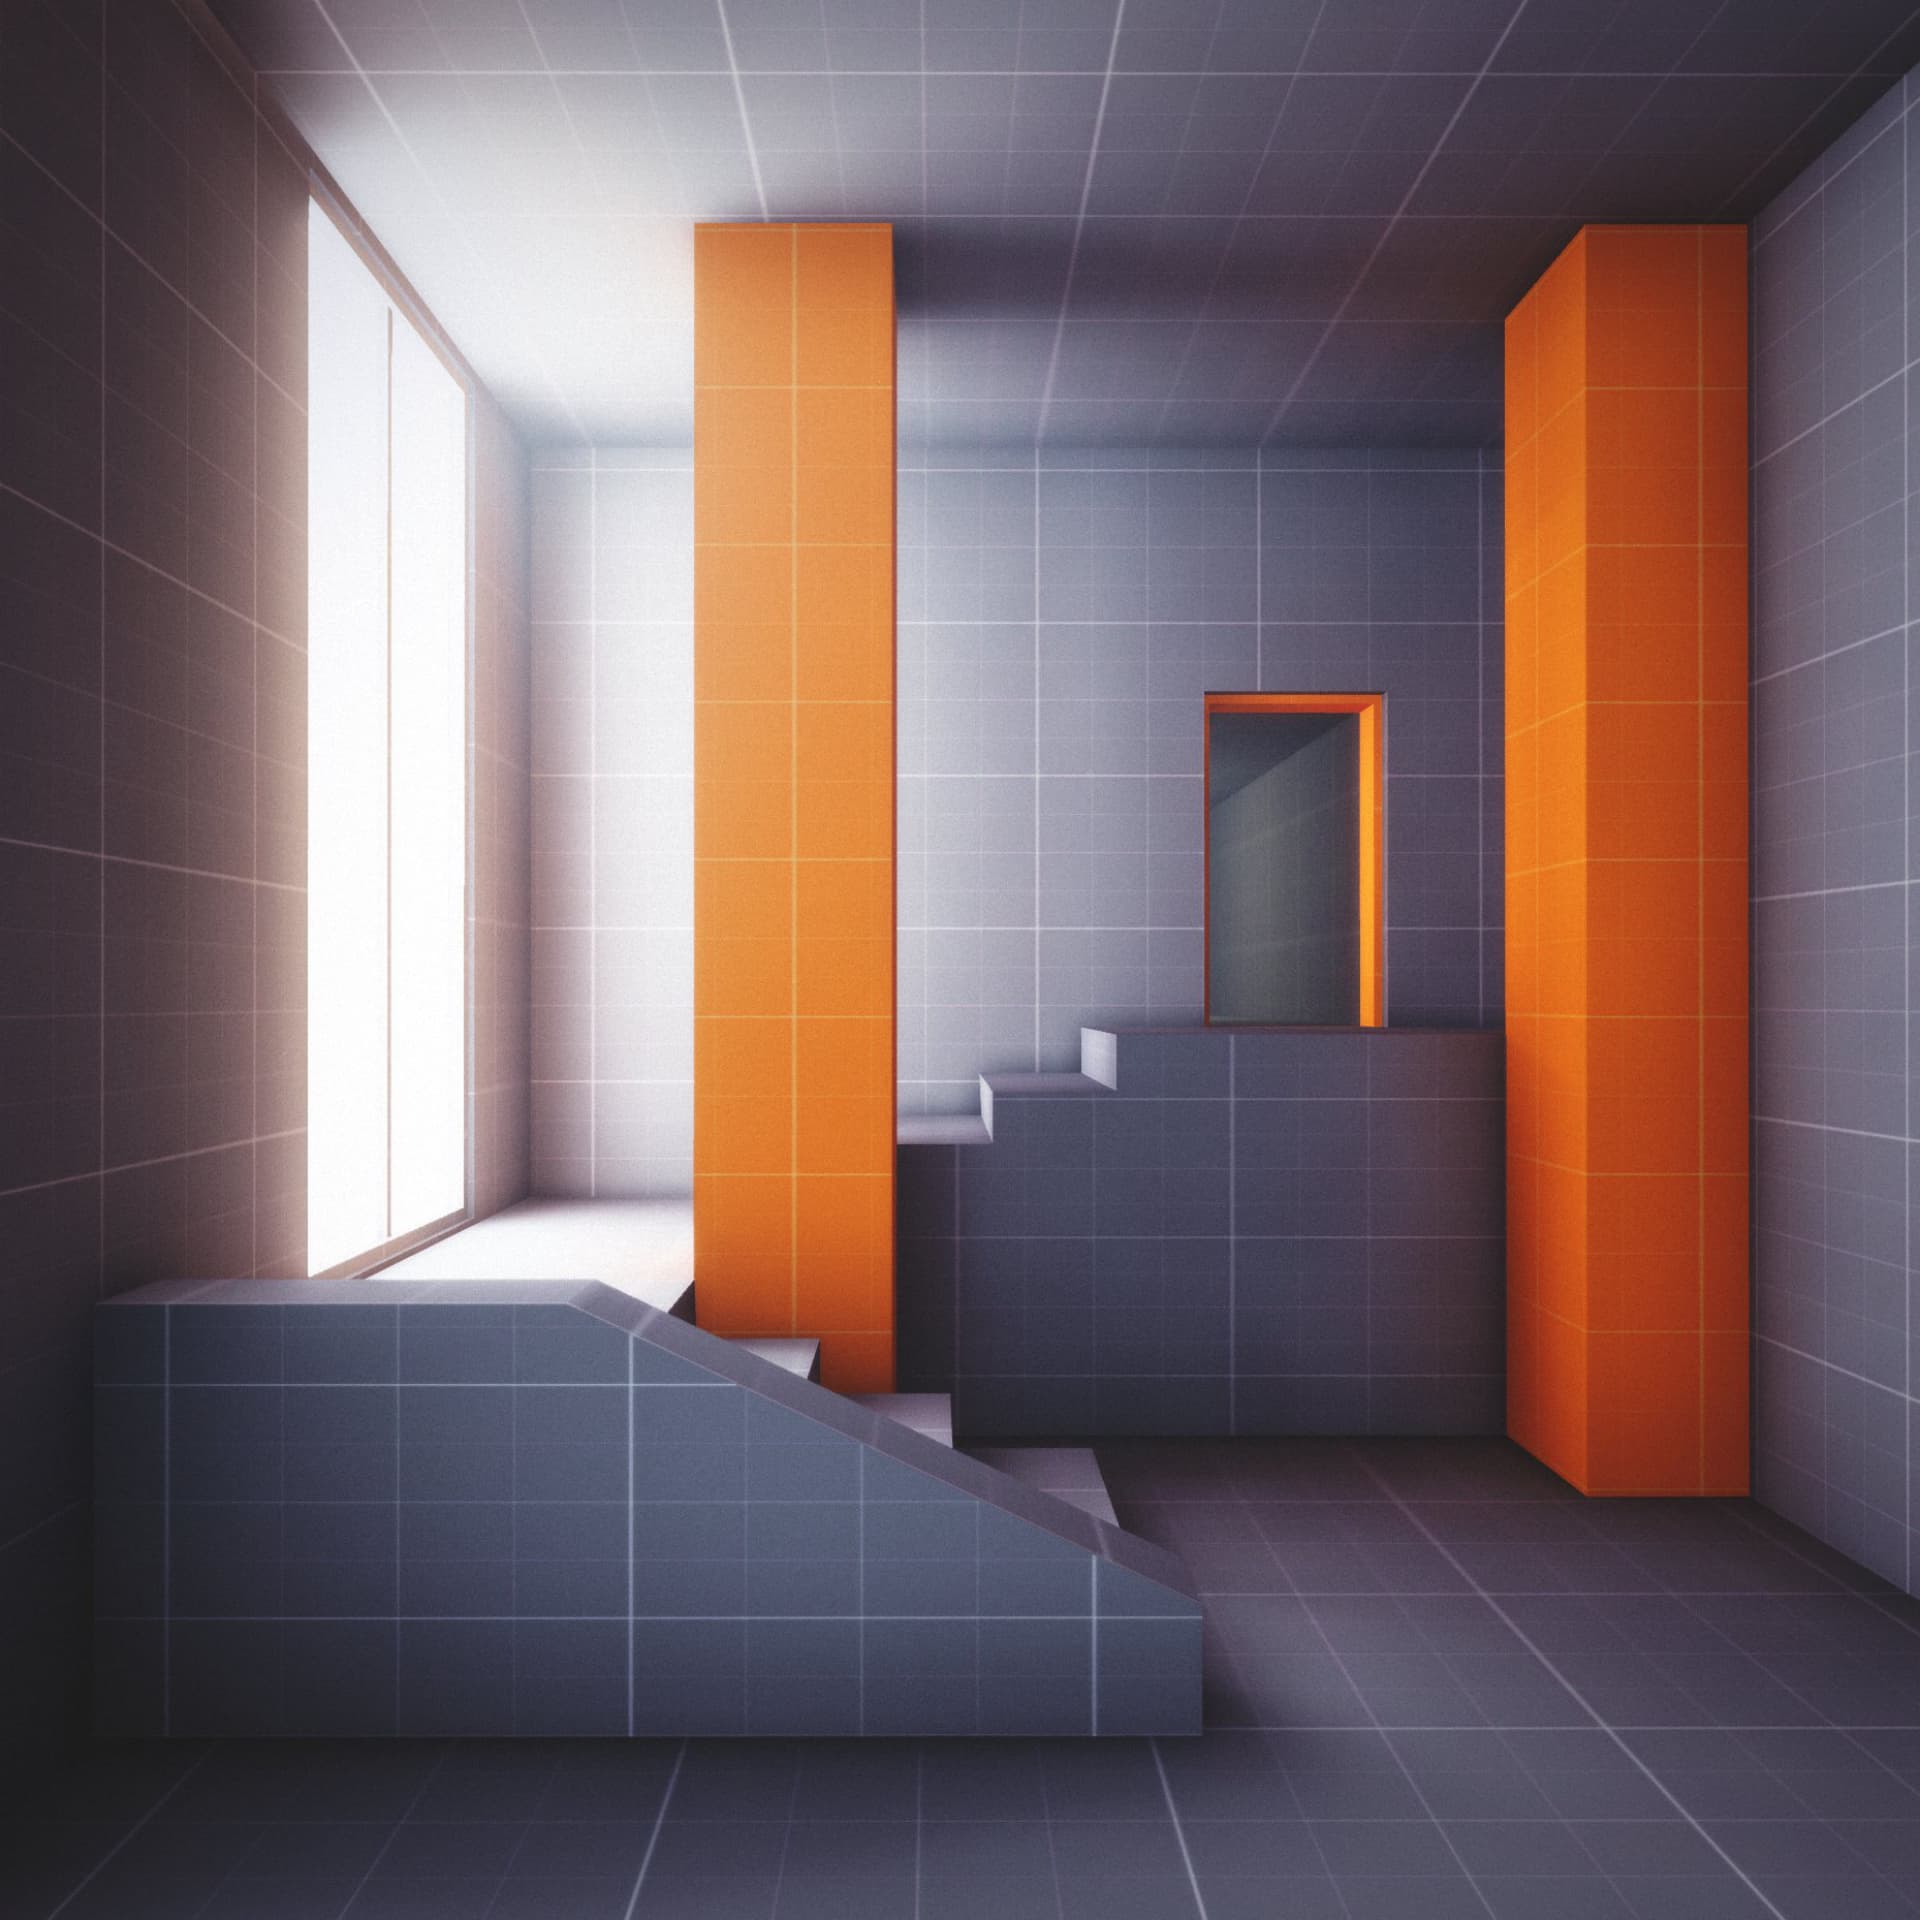
I’ve been toying with godot lightmapper and made some simple scenes:

Some people asked how I do lighting.
I add a LightmapGI node and click bake!
Why lightmaps?
Lightmaps have been around ever since videogames became a thing and it seems they aren’t going anywhere anytime soon.
Lumen is awesome! But it’s also expensive. And so is hardware raytracing. You can get an RTX card and enjoy realtime GI on your desktop but you can’t fit it into a small device like a standalone XR headset. It needs a lot of power and it runs hot. I did some gaming on a Zephyrus G15 laptop in bed (as a real gamer does) and it left literal burn marks on my legs that didn’t heal for weeks! A ‘gaming’ laptop isn’t really a laptop. More like a tabletop. You probably don’t want that on your face either.
Godot’s own realtime GI (SDFGI/HDDAGI) and semi-realtime GI (VoxelGI) are both low-frequency and leak light indoors. HDDAGI might become a good fit for huge outdoor scenes in the future but godot itself isn’t ready for huge scenes yet.
So for now lightmaps continue to be our best option when the level geometry is static. You can use them on mobile, on the web, on your grandma’s old calculator. They’re cheap and they look good. You can mix them with direct lights and SSGI to mitigate their… staticness.
Indoors
I just made a quick interior scene in blender (here’s gltf):

This would be for a first person corridor-type game. For simplicity I’ll light it entirely with emissive surfaces from the gltf without any light nodes. It would work the same with light nodes though.
Btw even though I’m using emissive surfaces to indicate outdoors with nothing to see on the outside because I’m a lazy fucker, some games actually shipped like that. For example Stanley Parable is lit that way.
Walls don’t have any thickness. Because they don’t need any. We won’t be using any ambient light because unlit parts need to stay pitch black. And no ambient light means no light leaks. No light can leak inside when there’s no light on the outside! If we were to make this scene with thick walls we’d waste lightmap space on geometry that player will never see.
If your map has outdoorsy parts with sun and ambient light you’ll need to seal the indoor parts off with light blockers and drop the lightmap resolution on them to the lowest possible value to exclude them from the lightmap. If the indoors part is large enough you might wanna have a transitional area with a trigger that disables the sun completely to avoid unnecessary directional light calculation when the player is inside.
To make it possible to bake lightmaps for an imported gltf you need to set Light Baking to Static Lightmaps for it in the Import dock.

When we add a LightmapGI node and click bake we’ll see this:

There are nasty light stripes near some edges because the lightmap is too low res.
There are two ways to fix this:
- Use the downsampling PR to increase the render resolution of the lightmap without increasing the actual resolution of the final lightmap. Or wait for that PR to be merged in core.
- Just increase the lightmap resolution.
We were gonna increase the resolution anyway so we doing option 2. Setting the texel scale to 2 makes those stripes go away:

If we set the texel scale to 8, bounces to 10, denoiser strength to 0.2 and quality to Ultra we can get a decent result:

What texel scale you need to use depends entirely on your game. Some geometry may need higher or lower resolution lightmaps depending on how far away it is or how important it is for it to look good. Godot 4.4 now allows to set precise lightmap scale per object.
We can make the scene look a little more dramatic if we change the color and strength of the emissive surfaces, add a couple of fog volumes and enable bloom:


I told you there’s not much to it!
Keep in mind that albedo affects indirect light! If you make a material too dark you’ll get less indirect light! A black material won’t reflect any light.
Outdoors
Lets use this simple gltf for our outdoors experiments:

In godot if you have preview sun and environment enabled in the top bar it’ll look like this:

We can add the preview environment and sun to the scene through the top bar too so that we don’t have to create those nodes from scratch.
To make the sun shadow a little more precise we can decrease the shadow bias in the DirectionalLight3D node settings and increase direct light resolution in the project settings (rendering/lights_and_shadows/directional_shadow/size).

It’s not perfect but you won’t notice it from the distance.
If we bake the lightmap with the default settings it looks like this:

It looks bad because of the low resolution. This is what it looks like with texel density 12:

What you’ll immediately notice though is absolutely disastrous shadow leaks where 2 different meshes touch each other (right wall against the floor and against the back wall).
This is simply what happens in godot lightmapper when meshes touch each other:

To fix this I’ll change the scene to make them not touch each other, like this (the attached gltf already has this fix):

Keep in mind that simply removing the bottom face of the wall won’t solve the problem because a shadow can still form there and it will leak outside. This feels like a big limitation because it makes it harder to build scenes out of modular blocks, hopefully this can be sorted out in the future on the engine side (UPDATE: I fixed it in engine so you don’t have to worry about this bug anymore).
However with this change the shadow leak is gone:

There are a few things that we can improve now. First, we need to decide what weather we’re going for. I’m gonna go for a clear day with no clouds.
To make it look like a clear day we can increase the sun Energy, because as you probably know on a clear day the sun is bright as fuck. I’ll set it to 2.0 and I’ll also set the Indirect Energy to 3.0 to make the interior look less dim.
Another thing you’ll notice on a clear day is that the sky is usually blue, and the default preview sky is not. To fix that we’ll change the sky in the Environment node from ProceduralSkyMaterial to PhysicalSkyMaterial and tweak the Rayleigh color to make it a bit more saturated. Sky not only affects the skybox but also the realtime and baked ambient light, so blue sky will make your shadows blue-ish. Which is what happens IRL too!
Direct sun has the color temperature of 4800K which is just white light, but in this household we don’t use facts logic and reason, instead I’m gonna make it yellowish #fffce8 to make it complement the blue sky color and make the image have a warm dreamlike vibe.
With those changes and a slightly different sun angle it looks like this:

Here’s with a slight touch of bloom and ssao:

This is as far as we can take it on a blockout geometry alone. Detailed geometry will make it look much better. Surface materials will have a big impact on how the lighting is perceived. They will also have a big impact on how it behaves. Because like I mentioned before materials affect bounce light. You may need to tweak lights after the materials are added.
Keep in mind that there are no “right” values to put into godot input boxes to get nice lighting. They will be different depending on what game you’re making. The weather, the mood, the overall style. After all that’s the reason all of those things are configurable.
What we ended up with in this example is a clear day with oppressingly intense, almost surreal looking lighting that kinda makes you feel like the time itself has stopped.
At least that’s how it makes me feel.


